

![How To Create Admin Panel using Filament [TALL STACK]](https://cdn.hashnode.com/res/hashnode/image/upload/v1639173022637/4BT9qk5g3.png?w=1600&h=840&fit=crop&crop=entropy&auto=compress,format&format=webp)


The Filament admin panel is a collection of tools for rapidly building beautiful TALL stack interfaces designed for humans. Build pages, engaging dashboard modules, charts, plugins, and more.
In this tutorial, we are going to learn how we can create an admin panel with CRUD using Filament.
Note: In this article, I assume you already created a new Laravel project and configure your database credentials.
1. Requeriments
Laravel v8.0+
Livewire v2.0+
PHP v8.0+
2. Installation and Login
In your terminal execute
composer require filament/filament
If you want to access the login page in your project put the following url
https://your-url/admin

or

http://your-url/admin
You should see this login page
If you don't have a user, you can execute this command in your terminal
php artisan make:filament-user
After that, you put your credentials like this
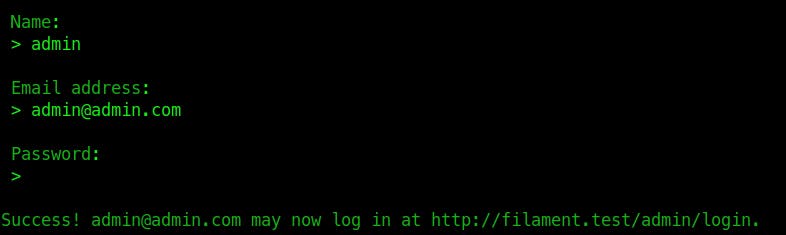
Now, we can login.
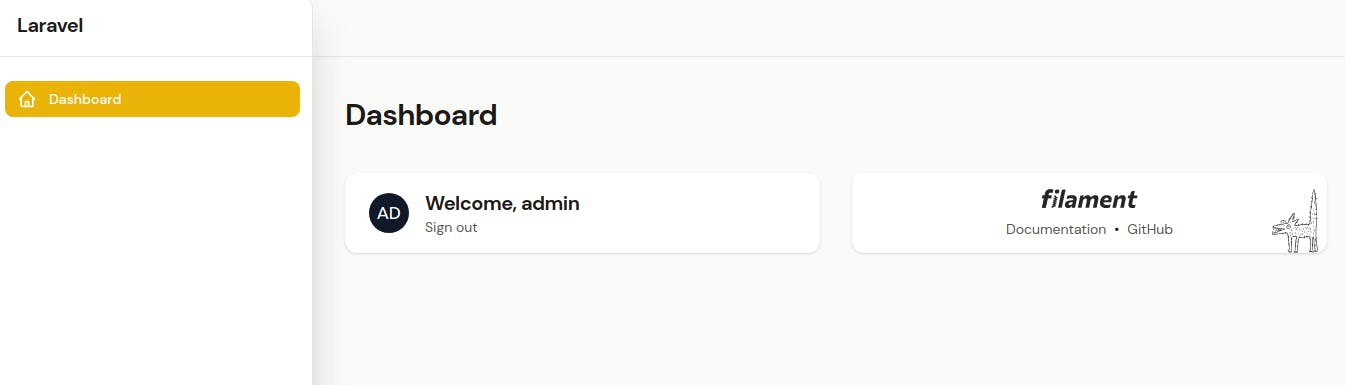
How cool is that!!!.
3. Project Model
Let's create a new Project model with migration using this command
php artisan make:model Project -m
Open your migration located in database/migration, write this code
  public function up()
    {
        Schema::create('projects', function (Blueprint $table) {
            $table->id();
            $table->string('name');
            $table->text('description');
            $table->date('start_date');
            $table->date('deadline');
            $table->foreignId('user_id');
            $table->timestamps();
        });
    }
Execute the migration php artisan migrate
The next step is to go to App\Models\Project.php add the fillable fields and relation
 protected $fillable = [
        'name',
        'description',
        'start_date',
        'deadline',
        'user_id'
    ];

public function user()
    {
        return $this->belongsTo(User::class);
    }
Now, we can continue
4. Project Resource
The resource in Filament is the way to manage our tables, form, views, and more, it's like a kind of controller to configure all that we need to work with our model and create the CRUD.
To create a Resource, execute
php artisan make:filament-resource Project
This will generate these files
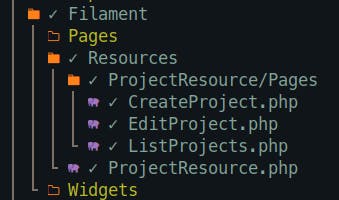
In your admin panel, you should see a new menu
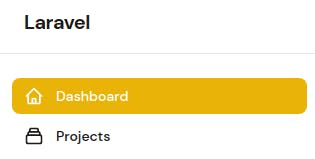
Let's move on
5. Defining Colums Table
Let's go to app/Filament/Resources/ProjectResource.php inside that file you'll see a static table() method which contains two columns() and filters(), we can define our columns (database fields) like this
  public static function table(Table $table): Table
    {
        return $table
            ->columns([
                Tables\Columns\TextColumn::make('name')->sortable()->searchable(),
                Tables\Columns\TextColumn::make('description'),
                Tables\Columns\TextColumn::make('start_date'),
                Tables\Columns\TextColumn::make('deadline'),
                Tables\Columns\TextColumn::make('user.name'),
            ])
            ->filters([]);
    }
Note: To work with a belogsTo relationship only need to use dot notation like user.name
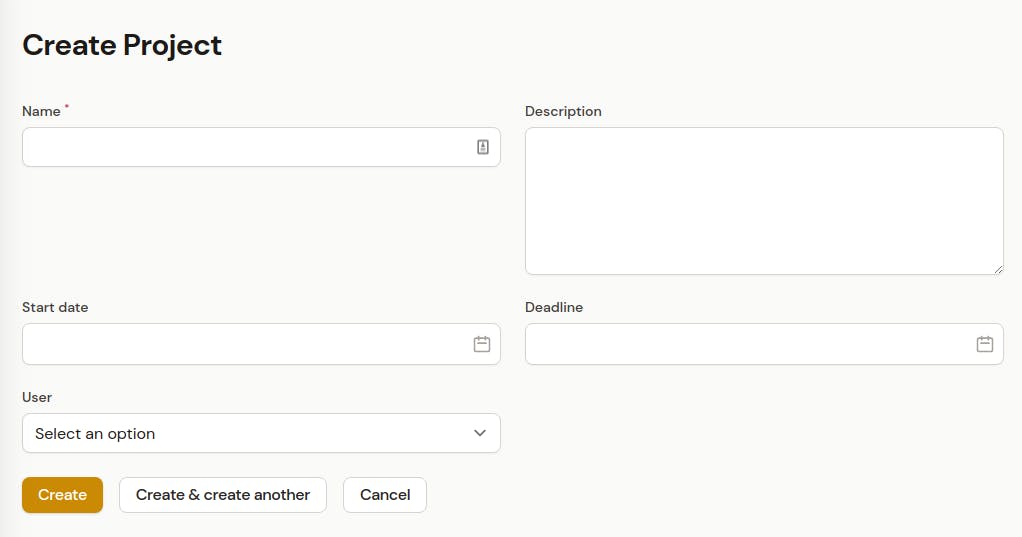
6. Create Project Form
In app/Filament/Resources/ProjectResource.php we need to create the inputs of the form inside static form method like this
   public static function form(Form $form): Form
    {
        return $form
            ->schema([
                Forms\Components\TextInput::make('name')->required(),
                Textarea::make('description'),
                DatePicker::make('start_date')->format('Y-m-d')->displayFormat('m/d/Y'),
                DatePicker::make('deadline')->format('Y-m-d')->displayFormat('m/d/Y'),
                BelongsToSelect::make('user_id')->relationship('user', 'name')
            ]);
    }
Don't forget to import
Textarea,DatePicker,BelongsToSelectWhen we work with dates the
format()function correspond to the format of the value to store in the databaseIn
BelongsToSelectwe need to put the foreign key insidemake, relationship receives two parameters the first one is the name of the relationship and the second one is the field you want to display
In the create page you'll see this form
Let's create some data.
The final view is
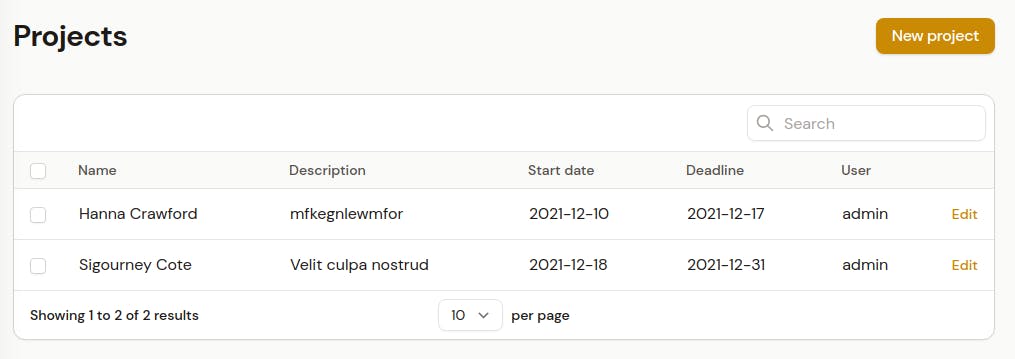
That's it, we build an admin panel alongside CRUD in a couple of minutes. How cool is that!!!.
If you want to read more about Filament check this link Filament Official Docs