

Laravel supports API routes out of the box and we can create a basic API with a couple of commands. In this article, we are going to create a Products API. Let's begin.
Table of contents
- Create new Laravel project
- Set up database credentials
- Configure model Product with Seeders, Migration, and Factory.
- Create Product Controller
- Create Product Resource
- Create Product Form Request for Validation
- Defining routes
- Working our Controller and Insomnia
- Github Repo
1. Create new Laravel project
In your terminal, run this command
composer create-project laravel/laravel basic-api
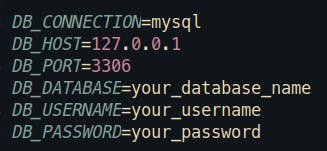
2. Setup database credentials.
In your .env file edit your credentials.
3. Configure model Product with Seeders, Migration, and Factory.
Now, we have to create a new model running this command.
php artisan make:model Product -msf
The output will be

The next step is open the product migration located in database/migrations and edit it like this.
  public function up()
    {
        Schema::create('products', function (Blueprint $table) {
            $table->id();
            $table->string('name');
            $table->decimal('price', 10, 2);
            $table->integer('quantity');
            $table->timestamps();
        });
    }
Alright, the migration file is ready, let's continue with the factory in database/factories/ProductFactory.php
  public function definition()
    {
        return [
            'name' => $this->faker->word(),
            'price' => $this->faker->numberBetween(50, 100),
            'quantity' => $this->faker->numberBetween(10, 50),
        ];
    }
Almost done, just search the ProductSeeder in database/seeder and add:
Product::factory()->count(3)->create();
Note: I only will create 3 products for testing purposes. You can create as many as you want.
The final step to finish this configuration is open database/seeders/DatabaseSeeder.php file and add this code.
  public function run()
    {
        $this->call([
            ProductSeeder::class
        ]);
    }
Cool!!!. Now we can execute this command in our terminal.
php artisan migrate:fresh --seed
If you wish you can verify your database and see some data like this.

4. Create Product Controller
In the terminal run
php artisan make:controller API/ProductController --model=Product --api
Let me explain what we do here:
API/ProductController generates a new controller inside a folder called API.
--model=Product it's for Route Model Binding our routes look like products/{product} instead products/{id}. If you want to read more about it. Route Model Binding
--api this generates only index, store, show, update, destroy methods in our controller.
Note: Later in this guide, I will explain every method and show how we can make the CRUD but right now continue to the next step and leave the controller just for now.
5. Create Product Resource
Execute in the terminal
php artisan make:resource ProductResource
In app/Http/Resources/ProductResource.php you should see.
<?php

namespace App\Http\Resources;

use Illuminate\Http\Resources\Json\JsonResource;

class ProductResource extends JsonResource
{
    /**
     * Transform the resource into an array.
     *
     * @param  \Illuminate\Http\Request  $request
     * @return array|\Illuminate\Contracts\Support\Arrayable|\JsonSerializable
     */
    public function toArray($request)
    {
        return parent::toArray($request);
    }
}
In this tutorial, I'm not changing anything in this file but it's important to know that Resources are very helpful to transform data. You can check an example from Laravel Daily Youtube Channel
6. Create Product Form Request for Validation
Let's create validation for Products.
php artisan make:request ProductRequest
In this case, I will use ProductRequest to validate Store and Update methods in the controller but you can create a separate form request for each method.
Let's go to app/Http/Requests/ProductRequest.php and edit it like this.
<?php

namespace App\Http\Requests;

use Illuminate\Foundation\Http\FormRequest;

class ProductRequest extends FormRequest
{
    /**
     * Determine if the user is authorized to make this request.
     *
     * @return bool
     */
    public function authorize()
    {
        return true;
    }

    /**
     * Get the validation rules that apply to the request.
     *
     * @return array
     */
    public function rules()
    {
        return [
            'name' => [
                'required'
            ],
            'price' => [
                'required'
            ],
            'quantity' => [
                'required'
            ]
        ];
    }
}
7. Defining routes.
Search for routes/api.php file and add the controller.
Route::apiResource('products', ProductController::class);
After that in your terminal run this command
php artisan route:list
You should see.

How cool is that. Finally, we can go back to our controller.
8. Working our Controller and Insomnia.
When we work with API, we expected a status code as response. For example, 201 when we create a new resource successfully, but in this guide, I'm not going to focus on that, this is Status Codes Response article you can check for more info.
8.1 Index Method Product Controller
In our controller edit the index method like this.
 public function index()
    {
        return ProductResource::collection(Product::all());
    }
Note: Don't forget to import ProductResource
Everything looks good but how we can check if the code works, for that, I'm going to use Insomnia API Client.
You can download Insomnia from Insomnia Official Page
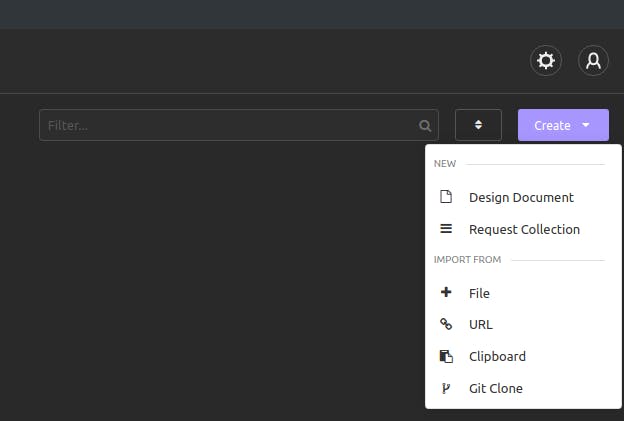
Open Insomnia and in the dashboard you should see a create button (purple) like the picture.
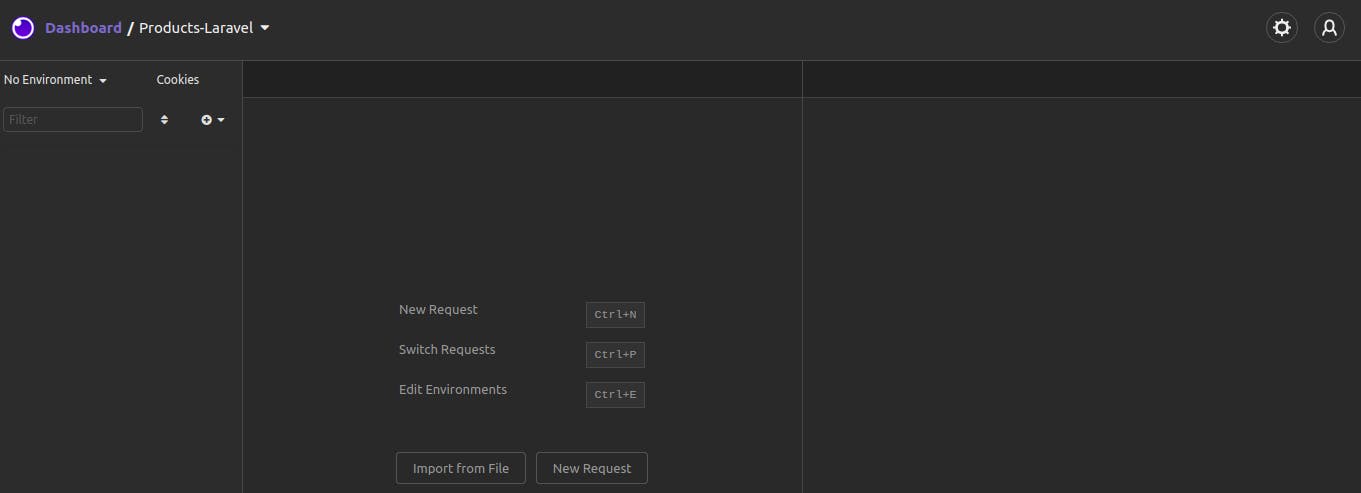
In the menu click Request collection after that you should see something like this.
The next step is to click on Plus button and click New Folder
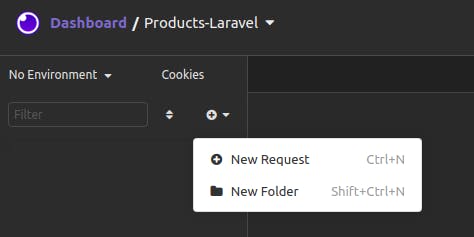
You can use the name you want for the folder. In my case, I named Products Request. Let's keep going, right-click on the folder just created and you click New Request you should see this image
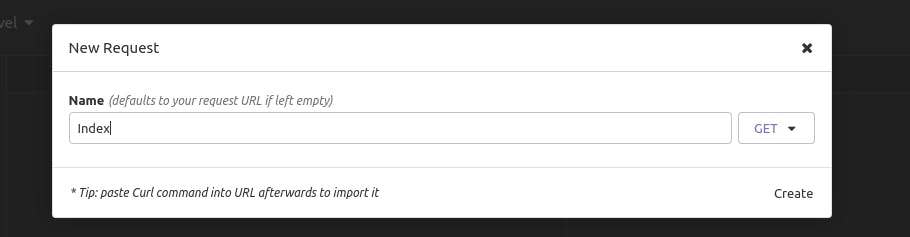
Let me explain some important things here.
We're going to create 5 request: Index, Store, Show, Update, Delete.
On the right-hand side you can see a button to select a verb by default is GET but how do we know which is the correct verb you should use, well to know that remember in step 6, we execute php artisan route:list and you can see
POST | api/products | products.store, the left-hand side tells you the verb you need to put.
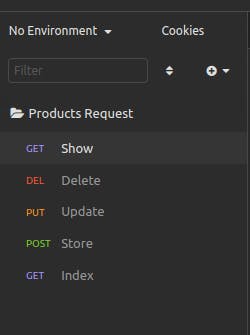
After creating the 5 requests you should see.
Let's move on, select Index Request and your URL like the image below.
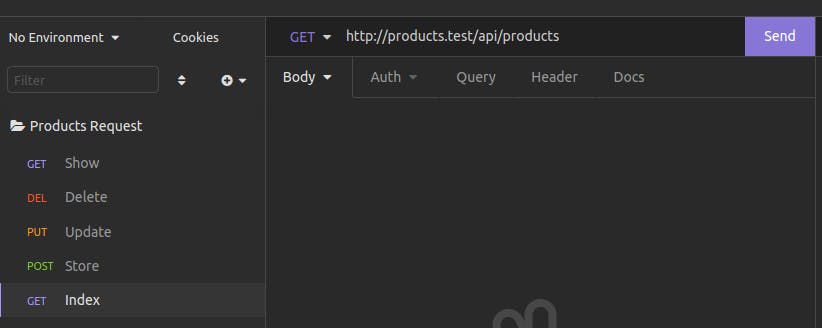
Note: I'm using Laravel Homestead that's why my URL is products.test, if you are using php artisan serve you should put something like 127.0.0.1:8000/api/products
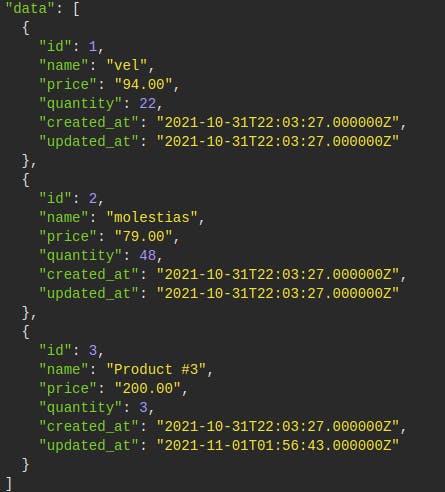
If everything goes well, you should see the list of products after clicking on Send Button.
8.2 Store Method Product Controller
 public function store(ProductRequest $request)
    {
        $product = Product::create($request->validated());

        return new ProductResource($product);
    }
We change the Request for ProductRequest and return a new Product. Let's go to Insomia and select Store Request, you should configure like this image.
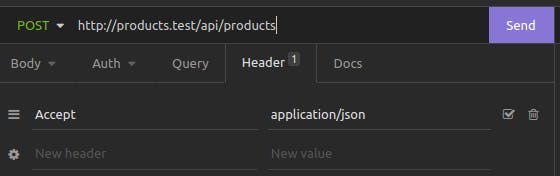
Note a couple of things here, in the Header we need to add Accept -> application/json because if we don't put this code we cannot see the validation errors instead we will redirect to home page, another thing to note here is the verb if you see carefully you note POST on the left-hand side of the URL.
After that, there is one more thing to configure, let's go to Body and click there you should see a new menu
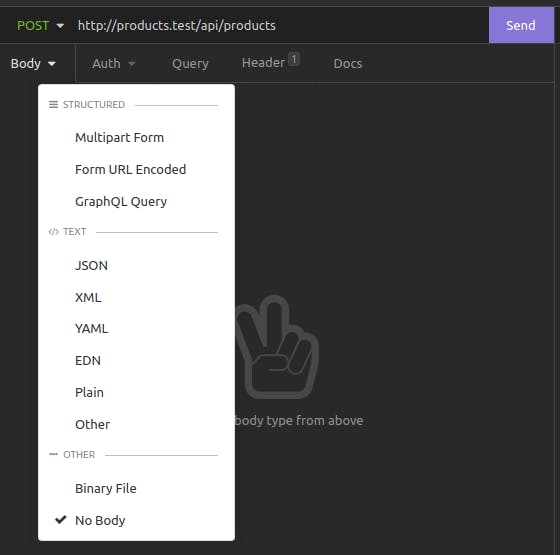
Select JSON and add the code like the image and click Send button you should see validation errors

Let's fix that and add the quantity field
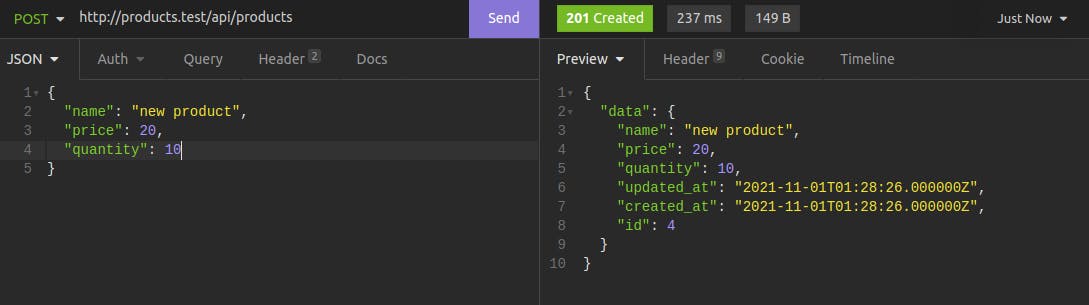
Great!!! The Store method works like a charm.
8.3 Show Method Product Controller
In the controller add this code
  public function show(Product $product)
    {
        return new ProductResource($product);
    }
Cool!. Go back to Insomnia and Show request and put this endpoint api/products/2 you see something like this image
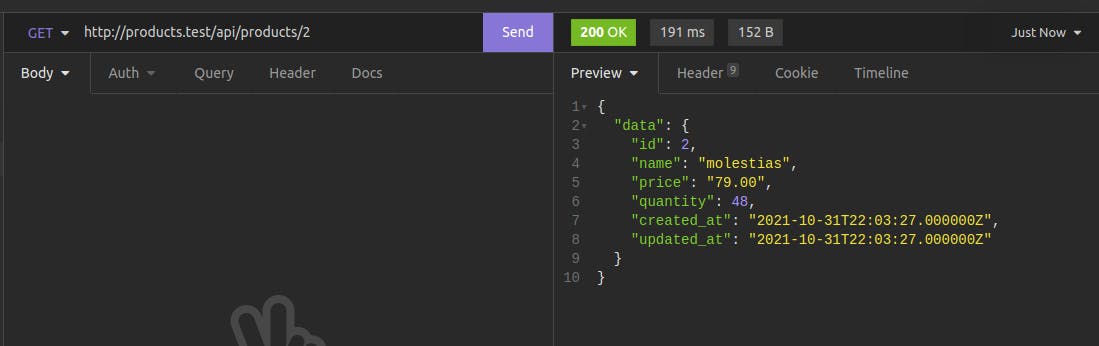
Great!!!, Only two methods left.
8.4 Update Method Product Controller
In the controller add this code
  public function update(ProductRequest $request, Product $product)
    {
        $product->update($request->validated());

        return new ProductResource($product);
    }
Note: Remember change Request for ProductRequest
In Insomnia select Update from the left-hand side menu and this code
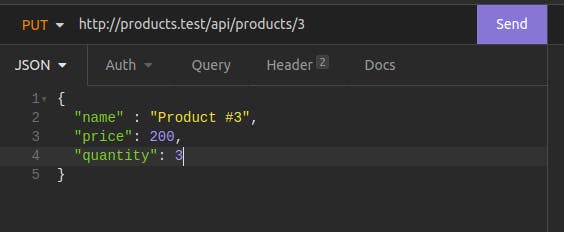
After that click on Send button and you'll see this
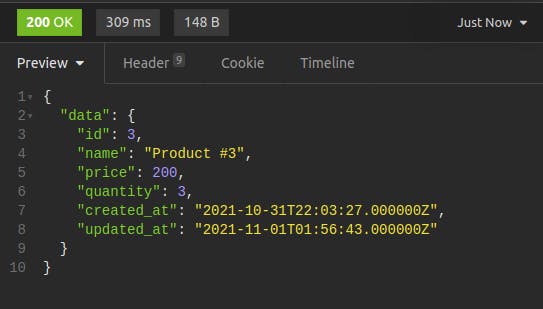
Cool!!! We can edit our products.
Note: Remember in the Header add application/json like Store request
8.5 Delete Method Product Controller
The final method is Delete in the controller
 public function destroy(Product $product)
    {
        $product->delete();

        return response()->noContent();
    }
In Insomnia before deleting any record, let's check all the products we have, click on Index from the left menu and click on Send Button, and will display all the products.
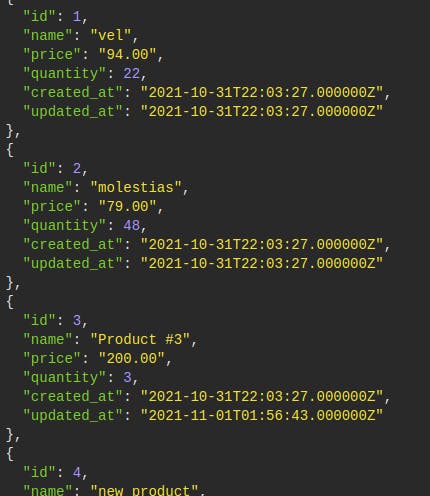
As you can see, there are 4 products.
Now, select Delete from the menu and add your URL
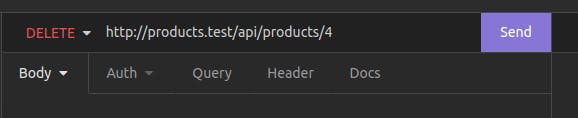
Click Send and if everything is correct you'll see 204 No Content meaning you delete the record successfully. To verify that let's go to Index Request again and click on Send Button

We can delete records!!!!!.
9. GitHub Repo
If you have any doubt you can use this GitHub Repo or you can leave a message in the comment section.
Thanks for reading 🙏. Happy coding ☕.