How To Uploads Images with Filepond Laravel Livewire

I'm a self-taught web developer who likes sharing my knowledge, helping people.
In this tutorial, we are going to learn how we can upload images using Laravel Livewire, but we need some requirements like Alpine.js v2. Let's begin.
Table of contents
- Create new Laravel project
- Configure Database Credentials
- Install Laravel Breeze
- Video Model
- Install Laravel Livewire
- Create Livewire Component
- Install and Configure Filepond
- Configure Livewire Component and Form
- Image Preview
- GitHub Repo
1. Create new Laravel Project
In your terminal execute
composer create-project laravel/laravel filepond-uploads
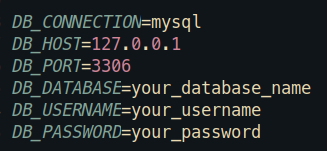
2. Configure Database Credentials
Open your .env, put your credentials
3. Install Laravel Breeze
In this tutorial, I'm going to install Breeze because it comes with Alpine.js by default.
To install Laravel Breeze execute this command in your terminal
composer require laravel/breeze
After installing the package, run this command
php artisan breeze:install
To finish this part you need to run
npm install && npm run dev
Note: You need to have installed node.js to execute npm install && npm run dev. Don't forget to execute php artisan migrate
4. Video Model
In the terminal execute
php artisan make:model Video -m
Let's go to the videos migration, located in database/migrations
  public function up()
    {
        Schema::create('videos', function (Blueprint $table) {
            $table->id();
            $table->string('name');
            $table->text('cover'); //To store image url
            $table->timestamps();
        });
    }
Once the migrations are ready, we can go to app/Models/Video.php and edit it like this.
  protected $fillable = [
        'name',
        'cover',
    ];
Execute this command.
php artisan migrate
Alright. Our database is ready.
5. Install Laravel Livewire
Execute this command
composer require livewire/livewire
In the main layout configure Livewire like this
...
    @livewireStyles
</head>
<body>
    ...

    @livewireScripts
</body>
</html>
6. Create Livewire Component
To create a Livewire component run
php artisan make:livewire Video/Create
Let's go to app/resources/views/dashboard.blade.php put the component
  <div class="py-12">
        <div class="max-w-7xl mx-auto sm:px-6 lg:px-8">
            <div class="bg-white overflow-hidden shadow-sm sm:rounded-lg">
                <div class="p-6 bg-white border-b border-gray-200">

                    @if (session('success'))
                    <div class="flex bg-green-100 rounded-lg p-4 mb-4 text-sm text-green-700" role="alert">
                        <svg class="w-5 h-5 inline mr-3" fill="currentColor" viewBox="0 0 20 20" xmlns="http://www.w3.org/2000/svg">
                            <path fill-rule="evenodd" d="M18 10a8 8 0 11-16 0 8 8 0 0116 0zm-7-4a1 1 0 11-2 0 1 1 0 012 0zM9 9a1 1 0 000 2v3a1 1 0 001 1h1a1 1 0 100-2v-3a1 1 0 00-1-1H9z" clip-rule="evenodd">
                            </path>
                        </svg>
                        <div>
                            <span class="font-medium"> {{session('success')}}</span>
                        </div>
                    </div>
                    @endif

                    <livewire:video.create />
                </div>
            </div>
        </div>
    </div>
Note: Before continuing we need to install filepond. Let's do that in the next step
7. Install and Configure Filepond
First, we'll use laravel-form-components, to install execute
composer require rawilk/laravel-form-components
In the main layout configure like this
...
    @livewireStyles
    @fcStyles
</head>
<body>
    ...

    @livewireScripts
    @fcScripts
</body>
</html>
Now we can install Filepond
npm i filepond --save
After installing, search for resources/js/app.js, add this code
import * as FilePond from 'filepond';

//Styling
import 'filepond/dist/filepond.min.css';
Execute npm run dev.
We're ready to continue
8. Configure Livewire Component and Form
We can go to app/Http/Livewire/Video/Create.php, open add this code
<?php

namespace App\Http\Livewire\Video;

use App\Models\Video;
use Livewire\Component;
use Livewire\WithFileUploads;

class Create extends Component
{
    use withFileUploads;

    public $name, $cover;

    protected $rules = [
        'cover' => [
            'required',
            'max:1024',
            'mimes:jpeg,jpg,png'
        ],
        'name' => [
            'required'
        ],
    ];


    public function uploadCoverImage()
    {

        $cover_name = time() . '_' . $this->cover->getClientOriginalName();

        $this->cover->storeAs('covers', $cover_name, 'public');

        Video::create([
            'name' => $this->name,
            'cover' => $cover_name
        ]);
    }

    public function save()
    {
        $this->validate();

        $this->uploadCoverImage();

        $this->reset();

        return redirect()->route('dashboard')->with('success', 'Video created successfully');
    }

    public function render()
    {
        return view('livewire.video.create');
    }
}
Let me explain some points here:
storeAs() receive 3 parameters, the first one is the name of the directory in our case is
videos, the second is the name of the file and the 3 parameters is the disk, which can be public, s3 or the disk you want to use.$this->reset() restore the default values of the variables after submit the form.
We need to use withFileUploads when we want to upload files.
uploadCoverImage() store the image in storage folder and create new video.
The next step is to go to resources/views/livewire/video/create.blade.php and create the form
<div>
    <x-form wire:submit.prevent="save" has-files>
        <x-form-group label="Name">
            <x-input name="name" wire:model="name" />

            @error('name')
            <x-form-error name="name" />
            @enderror
        </x-form-group>

        <x-form-group label="Cover">
            <x-file-pond wire:model="cover">
            </x-file-pond>

            @error('cover')
            <x-form-error name="cover" />
            @enderror
        </x-form-group>
        <button type="submit" class="p-2 pl-5 pr-5 bg-red-500 text-gray-100 text-lg rounded-lg focus:border-4 border-red-300">
            Save
        </button>
    </x-form>
</div>
Note: x-form-group, x-file-pond, x-input these are blade components, if you want to know more you can check this link Blade Components
Now we can try our form
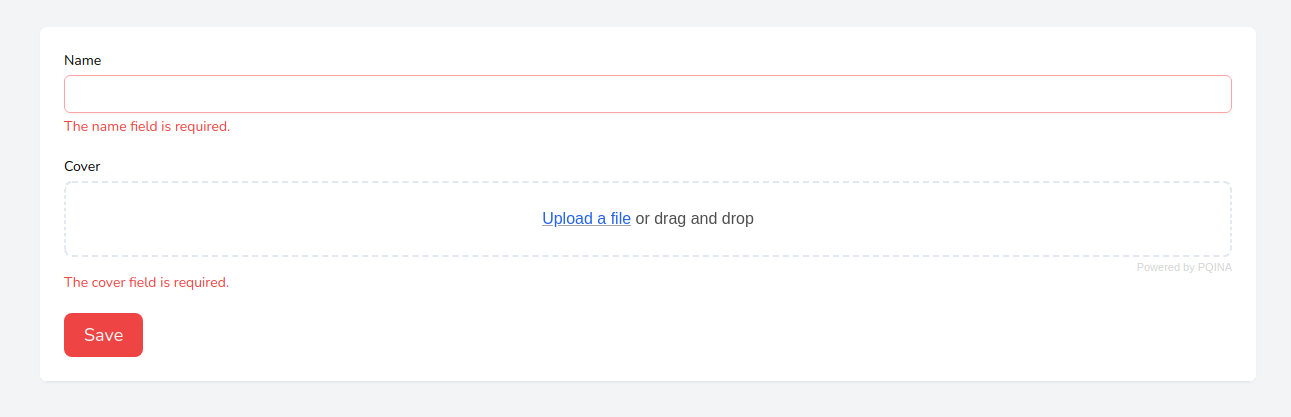
The validation works. We can try with data.
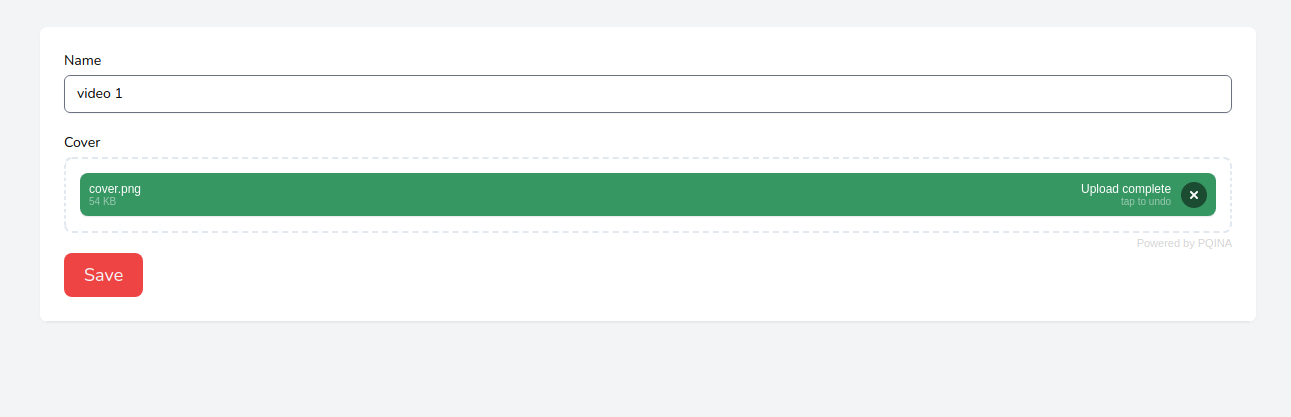
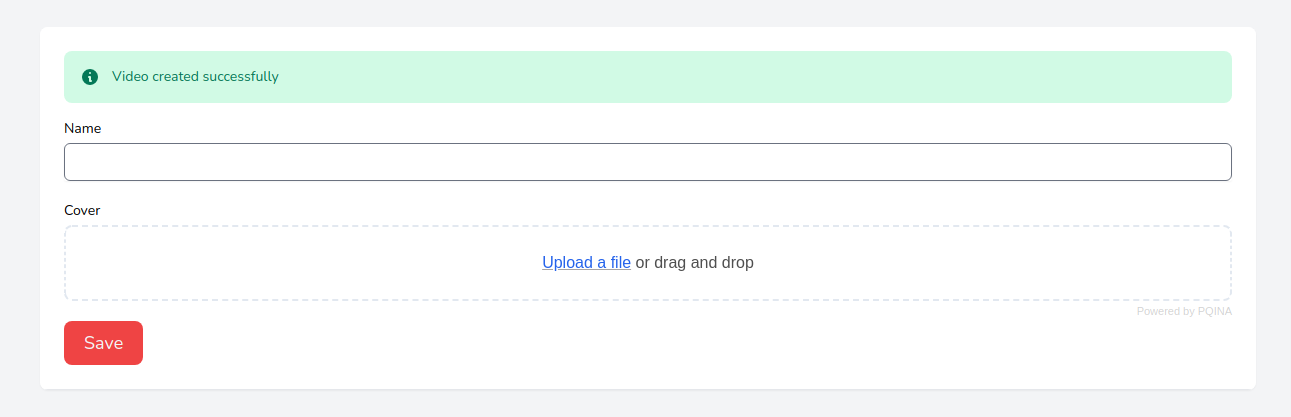
As you can see filepond is working, after submitting the form you should see this
9. Image Preview
To use the ImagePreview plugin we need to put this file in our main layout
<link href="https://unpkg.com/filepond-plugin-image-preview/dist/filepond-plugin-image-preview.css" rel="stylesheet">
<script src="https://unpkg.com/filepond-plugin-image-preview/dist/filepond-plugin-image-preview.js"></script>
In resources/views/layouts/app.blade.php we need to register the plugin we want to use with this code
     <script>
        document.addEventListener('DOMContentLoaded', function() {
            FilePond.registerPlugin(FilePondPluginImagePreview);
        });
    </script>
We can test if this works
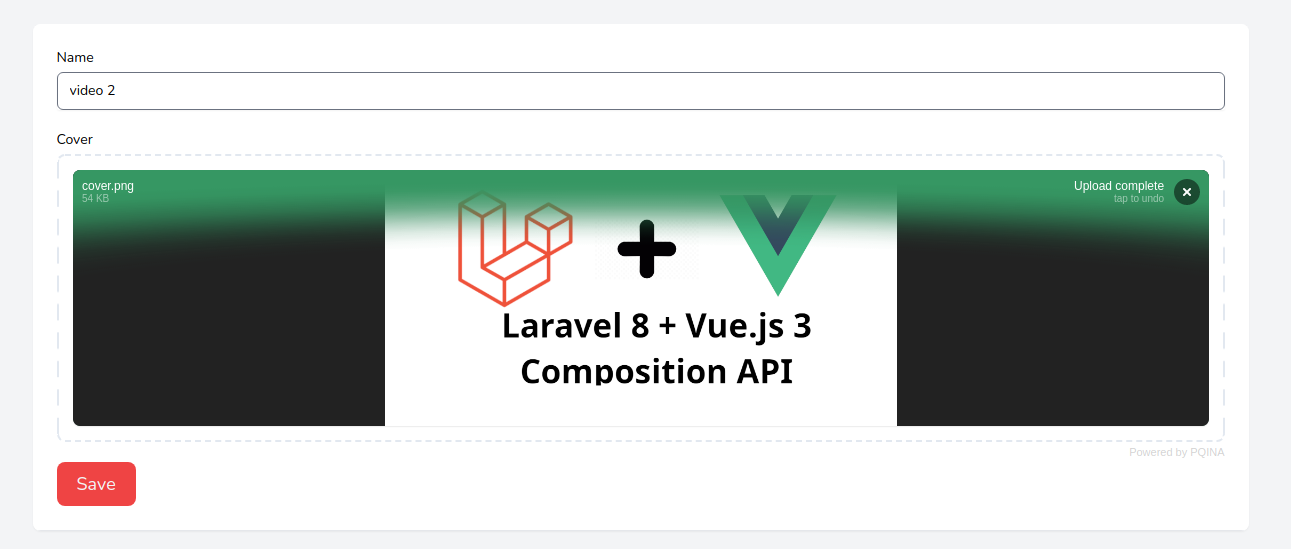
Everything looks good.
10. GitHub Repo
Link: Livewire Filepond
If you have any doubt leave a message in the comment section.
Happy coding ☕. Thanks for reading.


![How To Create Admin Panel using Filament [TALL STACK]](/_next/image?url=https%3A%2F%2Fcdn.hashnode.com%2Fres%2Fhashnode%2Fimage%2Fupload%2Fv1639173022637%2F4BT9qk5g3.png&w=3840&q=75)

