Table of contents
- Create new Laravel project
- Configure Database Credentials
- Install Laravel Jetstream
- Configure Two Factor Authentication
- GitHub Repo
1. Create new project.
In your terminal execute
composer create-project laravel/laravel Two-Factor-Authentication
2. Configure Database Credentials.
Open your .env file and edit your credentials like this
# Database Credentials
DB_CONNECTION=mysql
DB_HOST=127.0.0.1
DB_PORT=3306
DB_DATABASE=your_database
DB_USERNAME=your_username
DB_PASSWORD=your_password
3. Install Laravel Jetstream
To install Laravel Jetstream execute this command in your terminal
composer require laravel/jetstream
After installing the package, run this command
php artisan jetstream:install livewire
To finish this part you need to run
npm install && npm run dev
Note: You need to have installed node.js to execute npm install && npm run dev
Finally we need to run our migrations.
php artisan migrate
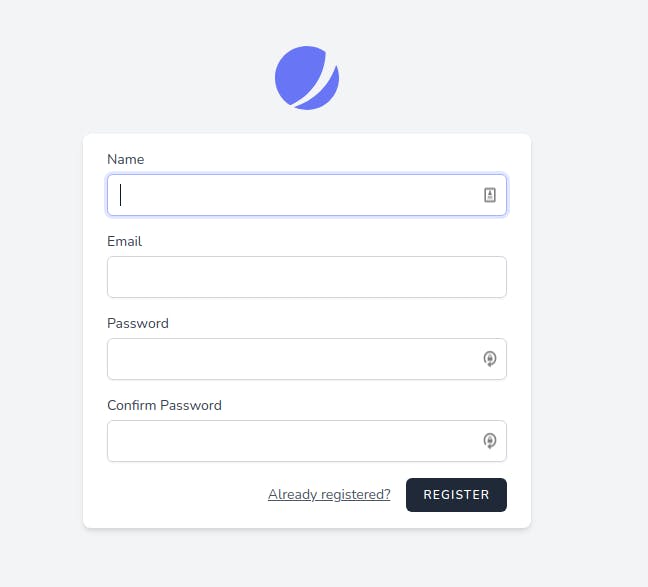
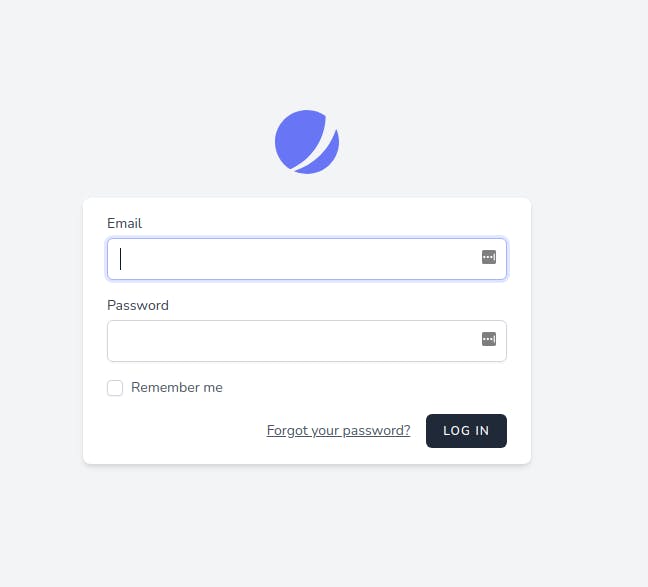
Now we can see the registration and login page.
Registration
Login
Let's move to the next step.
4. Configure Two Factor Authentication
We need to register a new user
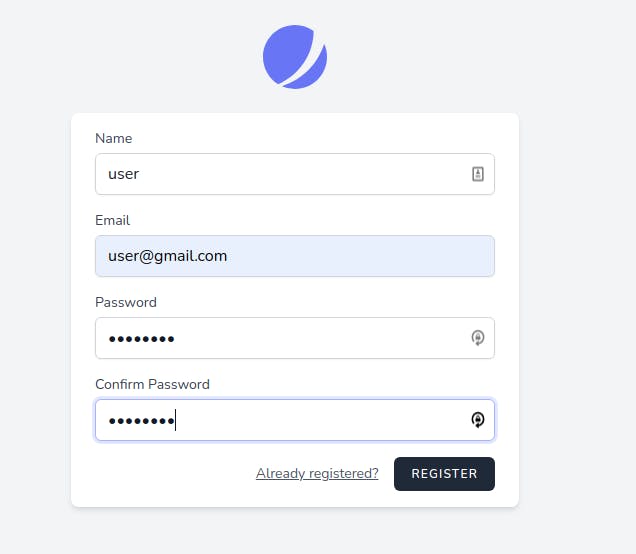
In your dashboard search for Profile located in the right-hand side menu.
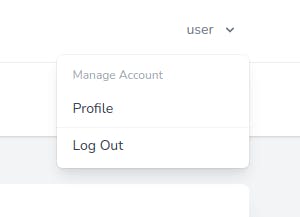
Let's go to Two Factor Authentication

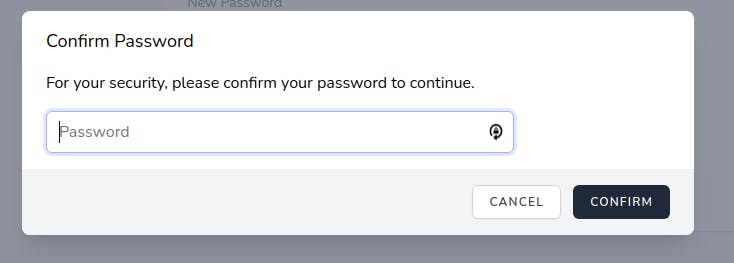
Click Enable Button and you need to confirm your password to continue
When you confirm the password you'll see something like that
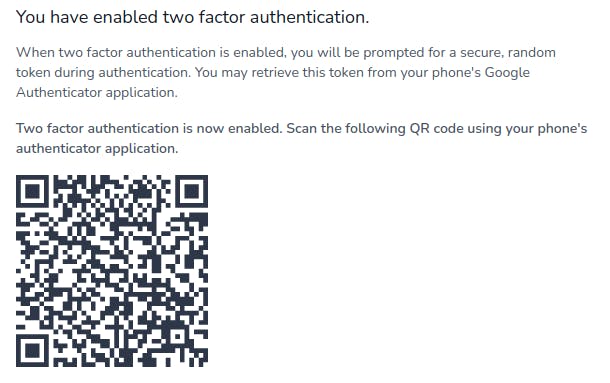
You need to scan the QR code with a mobile application like Google Authenticator, Authy. If you want to check more apps you can see this link Top 10 Best Authenticator Apps
When you finish this step try to login again and you'll see
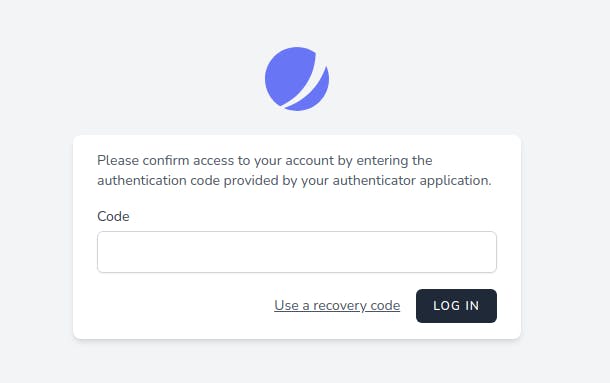
Put the code and that's it. Everything is ready and working.
Note:
- Remember to store in a safe place the RECOVERY CODES in case you lose your phone.
- You can enable and disable the Two Factor Authentication every time you want
5. GitHub Repo
Link: Two Factor Authentication
If you have any doubt leave a message in the comment section.
Happy coding ☕. Thanks for reading 🙏
