


These days is common thing Login with a social network like Facebook or Login using a Google Account, thankfully Laravel provides us a package called Laravel Socialite to make this happen. In this tutorial, we're going to learn how to integrate Laravel Socialite to Login with GitHub.
Table of contents
- Create new Laravel project
- Set up database credentials
- Install & Setup Laravel Breeze
- Install & Setup Laravel Socialite
- Configure Github Client_id and Client_secret
- Prepare User model
- Create Routes
- Create LoginGithubController
- Modify Login Page
- GitHub Repo
1. Create a new Laravel Project.
Create a new project using
composer create-project laravel/laravel login-with-laravel-socialite
or
laravel new login-with-laravel-socialite
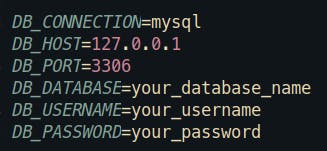
2. Set up database credentials
In the .env file edit your credentials here.
3. Install & Setup Laravel Breeze
Install Laravel Breeze with this command
composer install laravel/breeze
After Laravel Breeze was installed, run this command
php artisan breeze:install
Finally, execute this command
npm install && npm run dev
If everything goes fine, you should be able to see the login and register views.
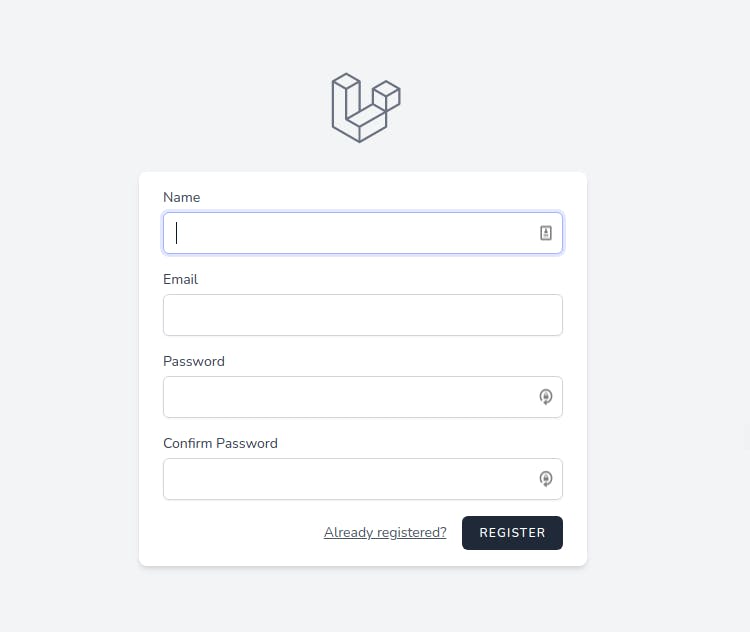
Note: If want to register a new user at this moment, you have to execute php artisan migrate before.
4. Install & Setup Laravel Socialite
Use this command
composer require laravel/socialite
Cool, let's go to config/app.php add these lines
'providers' => [
    ...,
    Laravel\Socialite\SocialiteServiceProvider::class,
],

'aliases' => [
    ...,
    'Socialite' => Laravel\Socialite\Facades\Socialite::class,
]
5. Configure Github Cient_id and Client_secret.
In this step, we need to configure GitHub to obtain CLIENT_ID and CLIENT_SECRET, that we need to connect with Laravel Socialite but before you need a GitHub account if you don't have one, you can create one in this link. After login you can go to this link Github setting developer or search In your settings the Developer settings you should see this view.
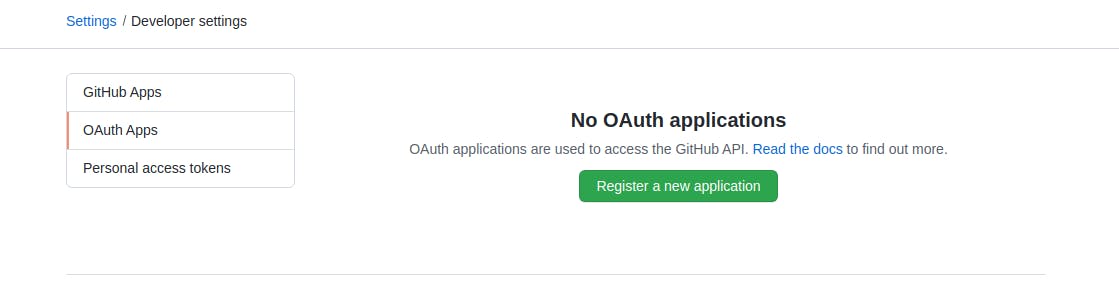
In this window, we have to click Register new application button and put something like the image below.
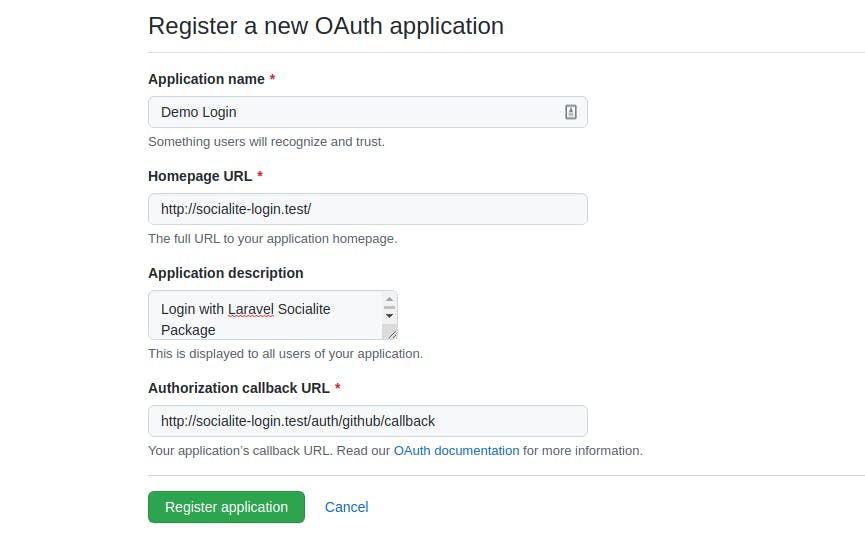
Note: Homepage URL is the URL of your application and Authorization callback URL is the URL to redirect after login.
When you click Register application, you should see your CLIENT_ID and you can generate your CLIENT_SECRET on the same page.
Great!!! Now we can connect our Laravel Application with Github, we have to put our GitHub credentials in the .env file like this.

The next step is to go to config/services.php and add this code
'github' => [
    'client_id' => env('GITHUB_CLIENT_ID'),
    'client_secret' => env('GITHUB_CLIENT_SECRET'),
    'redirect' => env('GITHUB_REDIRECT),
],
Our application can communicate to GitHub. How cool is that!!! But before we can login we have to do a couple of things.
6. Prepare User model
In order to make this works, we have to add social_type and social_id fields to users table. Let's create a new migration with this command
php artisan make:migration add_social_login_fields_to_users_table
Now open the migration and put this code
<?php

use Illuminate\Database\Migrations\Migration;
use Illuminate\Database\Schema\Blueprint;
use Illuminate\Support\Facades\Schema;

class AddSocialLoginFieldsToUsersTable extends Migration
{
    /**
     * Run the migrations.
     *
     * @return void
     */
    public function up()
    {
        Schema::table('users', function (Blueprint $table) {
            $table->string('password')->nullable()->change();
            $table->string('social_id')->nullable();
            $table->string('social_type')->nullable();
        });
    }

    /**
     * Reverse the migrations.
     *
     * @return void
     */
    public function down()
    {
        Schema::table('users', function (Blueprint $table) {
            $table->dropColumn('social_id');
            $table->dropColumn('social_type');
        });
    }
}
Note: social_type is needed because with Laravel Socialite you can authenticate with Facebook, Twitter, Google, and more, so we can store the provider with this field also social_id to store the id of the user.
In the User model, in $fillable add this.
  protected $fillable = [
         ...
        'social_id',
        'social_type',
    ];
Everything looks good, execute this command. php artisan migrate.
Note: if you receive this error
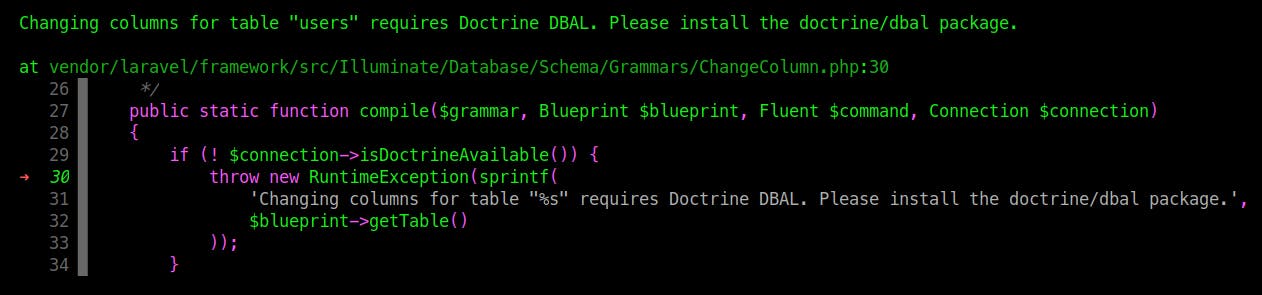
Run composer require doctrine/dbal
7. Create Routes
Let's define out routes in routes/web.php file
Route::get('auth/github', [LoginGithubController::class, 'redirectGithub']);
Route::get('auth/github/callback', [LoginGithubController::class, 'handleGithubCallback']);
Note: Remember when we defined Authorization Callback URL this auth/github/callback in the routes has to be the same URL.
8. Create LoginGithubController
Create a new controller with this command
php artisan make:controller LoginGithubController
Let's go to app/Http/Controllers/LoginGithubController.php add this code.
<?php

namespace App\Http\Controllers;

use App\Models\User;
use Exception;
use Illuminate\Http\Request;
use Illuminate\Support\Facades\Auth;
use Illuminate\Support\Facades\Hash;
use Laravel\Socialite\Facades\Socialite;

class LoginGithubController extends Controller
{
    public function redirectGithub()
    {
        return Socialite::driver('github')->redirect();
    }

    public function handleGithubCallback()
    {

        $user = Socialite::driver('github')->user();

        $existsUser = User::where('social_id', $user->id)
            ->where('social_type', 'github')->first();

        if ($existsUser) {
            Auth::login($existsUser);
        } else {

            $newUser = User::create([
                'name' => $user->name,
                'email' => $user->email,
                'social_id' => $user->id,
                'social_type' => 'github',
            ]);

            Auth::login($newUser);
        }

        return redirect()->route('dashboard');
    }
}
Let me explain this code:
redirectGithub() will redirect to the Github Login page.
handleGithubCallback() first check the $user with his credentials, the next step is to verify if the user exists if it's true means the user is already registered and the user can login, if not we create a new user.
9. Modify Login Page
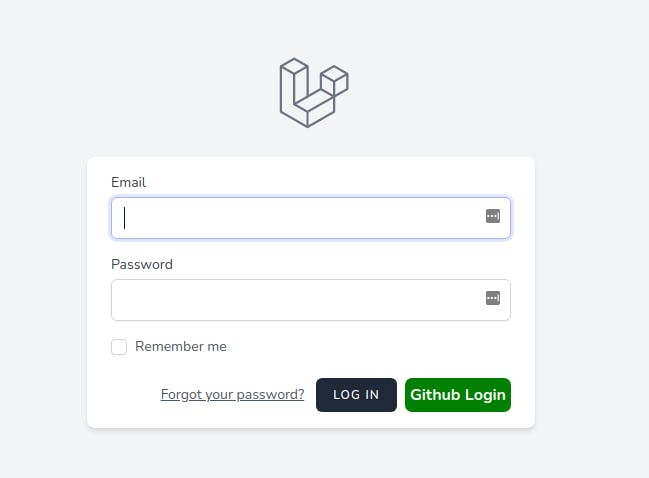
Let's go to resources/views/auth/login.blade.php and add these lines after Login button.
 <a href="{{ url('auth/github') }}" style="margin-top: 0px !important;background: green;color: #ffffff;padding: 5px;border-radius:7px;" class="ml-2">
          <strong>Github Login</strong>
  </a>
You should see this
Click on the GitHub button and you'll see.
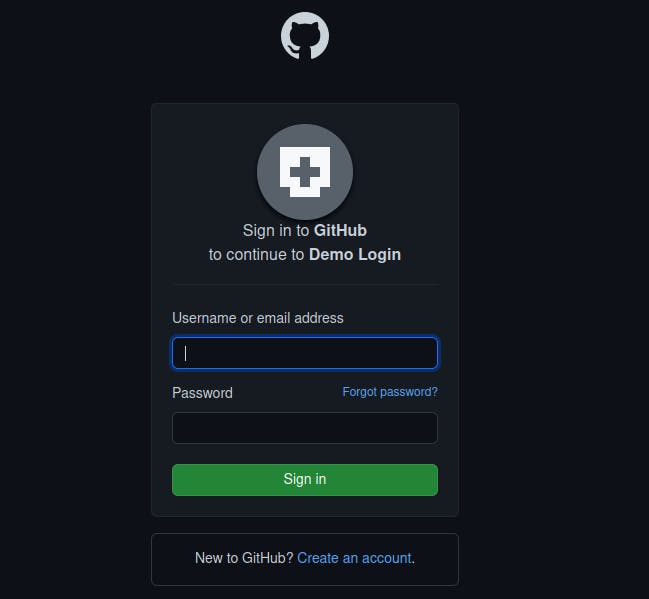
Just put your GitHub credentials and that's it. We can login using a GitHub Account!!!!!.
10. Github Repo
If you have any doubt you can use this GitHub Repo or you can leave a message in the comment section.
Thanks for reading 🙏. Happy coding ☕.